
How to Make a Hand Cast Light-bulb Holder
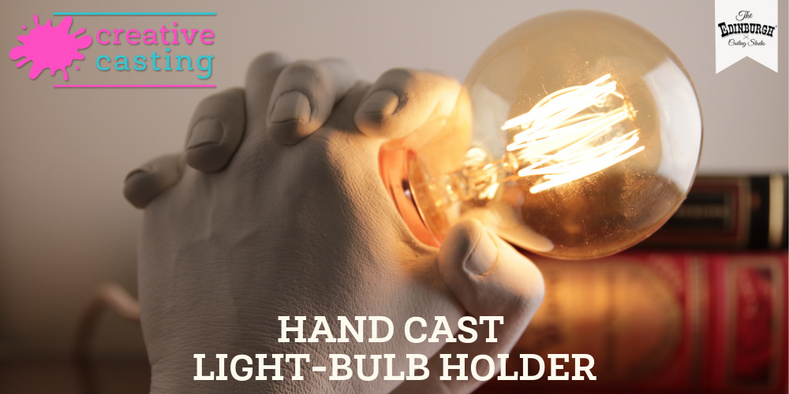

We had a light-bulb moment! The clever casting folks in our studio made a stunning lamp using our Couple Casting Kit, a pair of hands, and a light-bulb and fitting. We reckon it's a must-have for a sophisticated study, the vintage-style Edison light-bulb throwing a warm glow over a teak desk-top.
It's a simple casting... when you know how! To share our insider tips, we filmed a full demo. Watch it here!
Light-bulb holder: hand casting tips!

We made our Hand Cast Light-bulb Holder using our Couple Casting Kit. The space for the light-bulb and fitting is created by holding onto a section of cardboard tube during the hand casting (the ones used for wrapping paper are ideal). As an alternative, you could use rolled-up bubble-wrap with a similar diameter.
Our top tip is to cover the tube in parcel tape before you do your hand cast. This makes it slippery, so it will easily slide out of your finished cast, to allow you to add your light fitting.
We suggest doing a dry run before any home hand casting. This means practising your hand hold and dunking your hands into the empty bucket. When you've settled on a good hand pose that you can hold comfortably, it's time to start casting!
For this casting, we used a pair of hands belonging to the same person, with fingers intertwined and thumbs overlapped. If you wanted to create this cast with a partner, you could use one hand each.
After plunging your hands into the casting jelly, make sure that your hands and the tube aren't touching either the sides of the bucket or the base. Then stay as still as possible for 2-3 minutes while the cast sets. Watched for tell-tale signs that the mould is ready - the alginate jelly becomes rubbery and turns from pink to white.
Ask a helper to loosen the edges of the mould around your wrists and then, one at a time, wriggle your hands free.
This bit is important - do not try to remove the tube, as you will break the mould!
After the tension of making the mould, the big reveal is a satisfying event! We suggest making a few shallow incisions with a butter knife to help you dig our fingertips into mould and pull the alginate away. Don't go crazy! Take a slow and steady approach to make sure that you don't snap off any finger tips from the cast.
Once revealed in all its glory, your cast may need a bit of cleaning up. Tiny pieces of alginate in the crevices between fingers can be removed using the wooden tool provided in our DIY casting kit. This tool also comes in handy for gently knocking off any bobbles of plaster on the surface of the cast to create a beautiful, smooth finish.
Let there be light!
The final job is to introduce the light fitting and light-bulb into the hand cast. We used a globe Edison bulb with a copper fitting and a rose gold fabric cable and plug. You need to remove the plug to insert the cable into the space in the hand cast, so brush up on your plug wiring technique!
When we switched the light on, it was a real 'WOW' moment. The filament inside the lamp glows orange and throws dramatic light and shade over the hand cast. Every impressive detail is highlighted, down to tiny lines of the skin and the veins beneath.
Can we help with casting advice?
Fancy trying this amazing creative hand casting idea? Buy your Couple Casting Kit here.
This particular creative casting was requested by one of our customers, Oliver Anthony. If you have an idea for a hand casting you'd like us to try, please get in touch!
If you carry out a casting at home using one of our casting kits, we'd love to see your #HappyCasting photos or video! Please share them with us on our Facebook Page or Group, or send them by email.
For lots of casting inspiration, join our lively communities on Facebook, Instagram, Pinterest, Twitter and YouTube.